
Measurement Protocol allows you to send offline data to Google Analytics with the ability to send 72 hours back in time for offline events such as refunds and CRM customer interactions. This lets you integrate your data in an additional way, rather than relying solely on the JavaScript tracking code on your site. In this article, we also delve into the limitations, introduce the event builder tool to experiment with it, and use Postman for an example. However, it's essential to remember that you'll eventually need a developer for complete integration.
Examples
- Suppose a customer ordered from your website and then called customer service to request a refund. The refund event is an offline activity, but with the Measurement Protocol, you can send this data to Google Analytics.
- Maybe you wish to send additional CRM data about your customers to Google Analytics.
- Or perhaps you want to integrate your events differently than the standard tracking code. In some cases, using the Measurement Protocol might be simpler due to the complexity of your website.
Measurement Protocol Concepts
To send Measurement Protocol events to Google Analytics:
-
Use the POST Method: Direct your requests to the URL:
https://www.google-analytics.com/mp/collect -
Include the Essential Parameters: Ensure that your request includes
api_secret&measurement_id.- Retrieve the
api_secretfrom Google Analytics by navigating to Admin > Data Streams > choose your stream > Measurement Protocol > Create. - The
measurement_idcan be found in Google Analytics under Admin > Data Streams > choose your stream > Measurement ID.
- Retrieve the
-
Structure the Data Correctly: When sending your request, ensure the body of the data is in JSON format. The request body must include:
-
client_id: A unique identifier for visitor to your site that you want to send data for. Use the following on website to get it:gtag.js('get') -
events: These are the GA events with the data you want to send (for example: purchase, refund, generate_lead or any custom event. You can incorporate multiple events in a single request. For user activity to appear in reports,engagement_time_msecandsession_idmust be included as part of theparamsfor an event. Here's a sample structure:
-
{
  "client_id": "608813740.1697075078",
  "non_personalized_ads": true,
  "events": [
    {
      "name": "clickedonbanner",
      "params": {
        "items": [],
        "bannername": "homepage1"
      }
    }
  ]
}
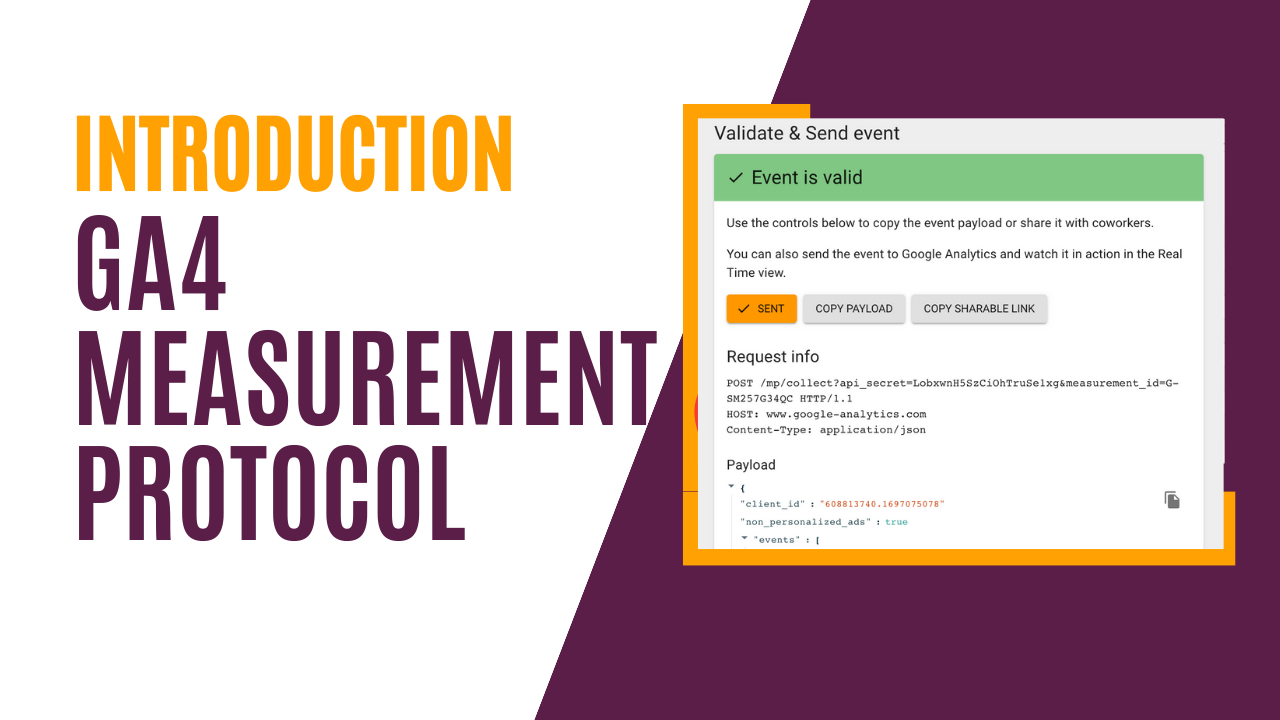
Hit Builder

The best approach to familiarize yourself with this process is by using the Google Analytics hit builder. This tool provides ready-made forms and fields, enabling you to experiment without having to write code. Not only does it offer validation, but it also allows you to send the data directly to Google Analytics. With prefilled fields for all primary GA events and options for custom events, it's an invaluable resource for both you and your developer.
Important Links for Reference
Integration
Once you're acquainted with the essentials and have decided on your requirements, it's time to involve your developer. Remember to test thoroughly before implementing any changes. Good luck!