Many website owners and digital marketers often wonder how to track specific user actions on their website, such as when a user lands on a particular URL, completes a form, or even when a conversion event takes place. In this article, we will walk you through how to create your own events in Google Analytics 4 (GA4) based on a visitor landing on a specific URL.
Consider an instance where you have a contact form on your website, and every successful form submission redirects users to a "success page". This action can be tracked as a "lead generation" event, which is an integral part of your business operations. Now, let's dive into how you can set up such URL-based events.
Solution
There are two primary ways to set this up. You can either use Google Tag Manager or create events directly in the Google Analytics interface.
Using Google Tag Manager
-
Identify the URL of the page that triggers your event. In our case, it would be the URL of the "success page".
-
Go to "Tags" in Google Tag Manager and click on "New" to create a new tag.
-
Set the "Tag Type" to Google Analytics: GA4 Event.
-
Input your GA4 "Measurement ID" (this can be found in your GA4 account settings).
-
Set the "Event Name" to what you would like to track, for example, "generate_lead". (see Google recommended list at https://support.google.com/analytics/answer/9267735?hl=en). TIP: for custom events, make sure to have lowercase, include only numbers and letters and replace spaces with underscores. for example instead of "Fill In Form", use: fill_in_form)
-
Define the trigger for your tag. Trigger Type = Page View -> This Trigger Fires On = Some Page Views -> For This Trigger When -> Page Path, equals, the url not including the domain (make sure to keep the first slash).
-
Save and test your setup in the preview mode.
Using Google Analytics Interface
-
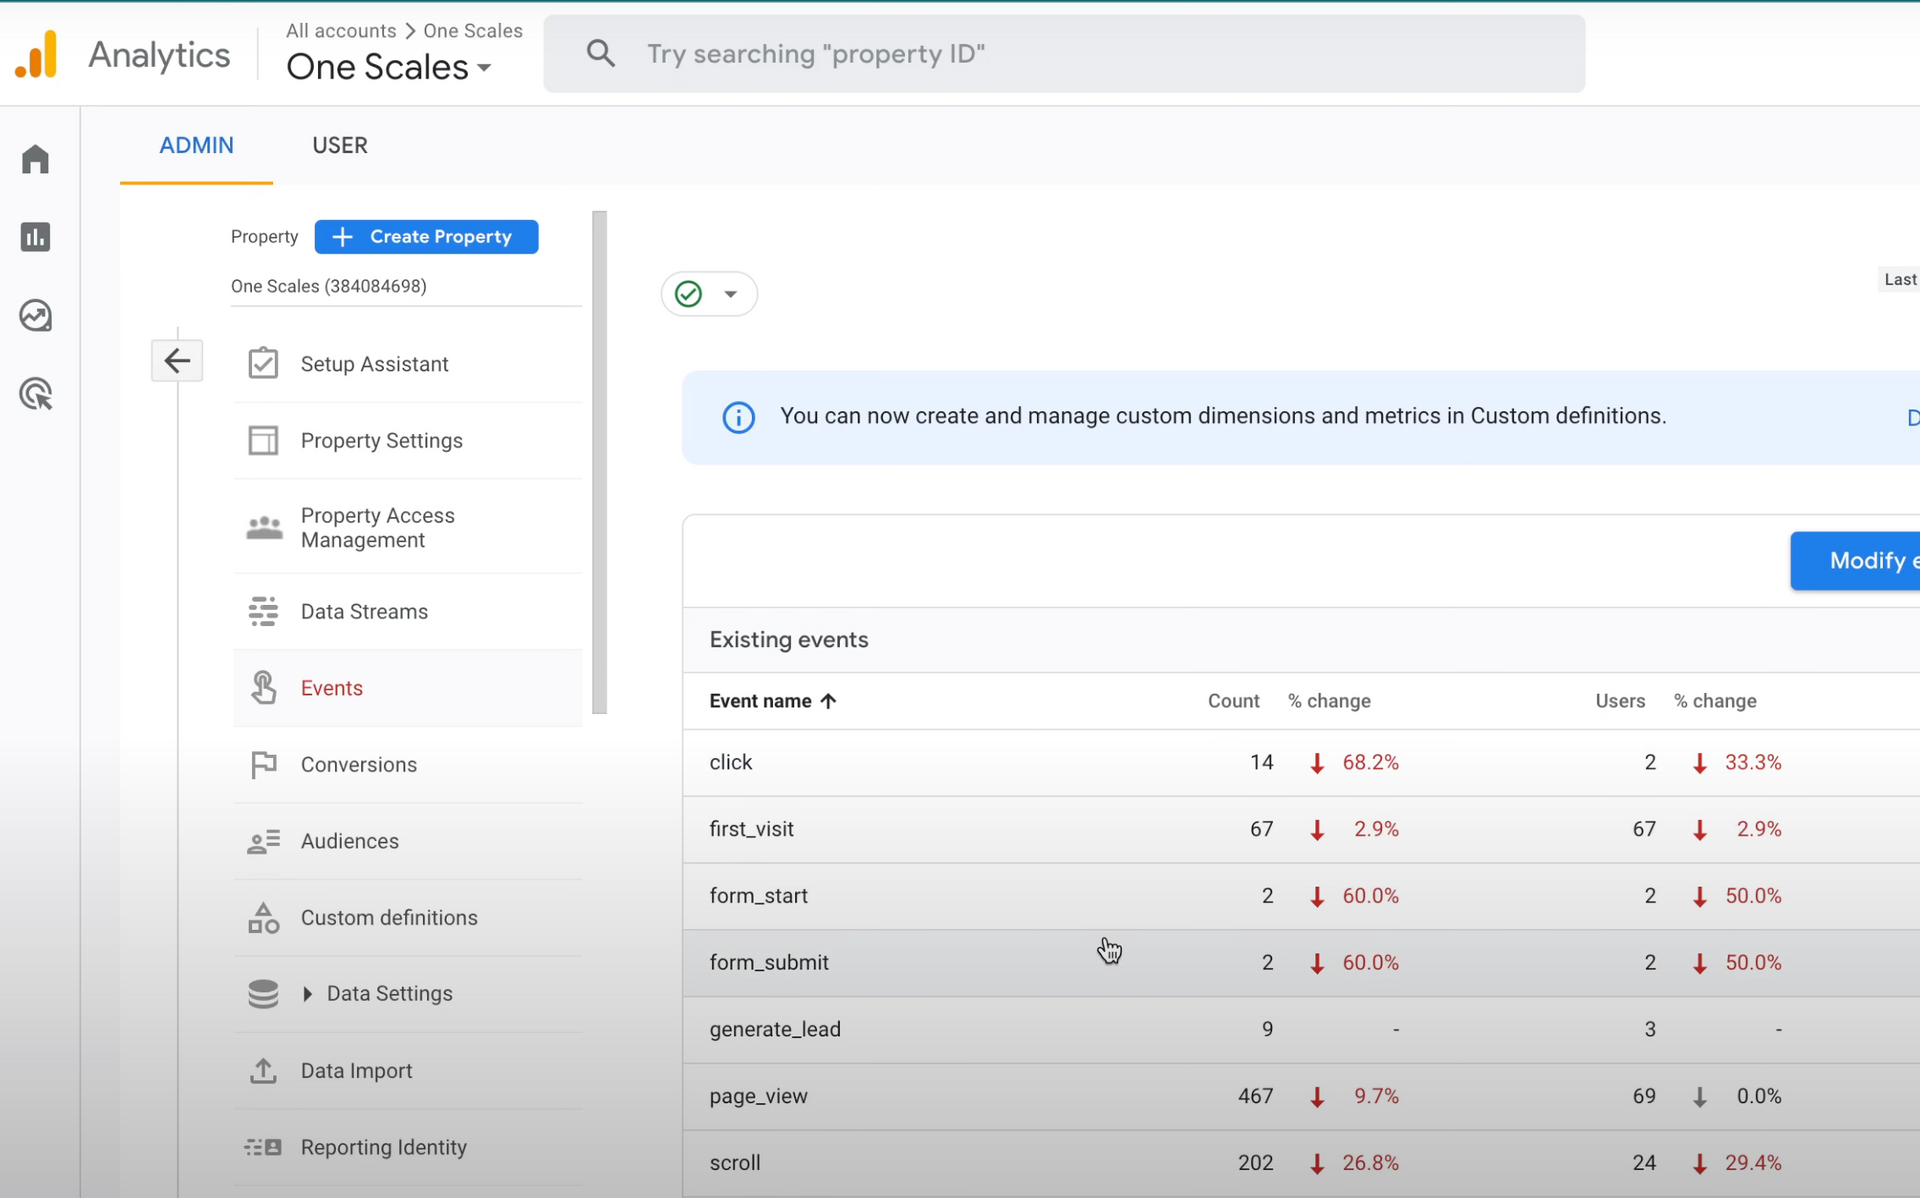
In your Google Analytics account, navigate to "Admin" and then "Events".
-
Here, you'll see a list of events that have been triggered. Click on "Create Event" if your desired event isn't listed.
-
Give your event a custom name, for example, "generate_lead". (see Google recommended list at https://support.google.com/analytics/answer/9267735?hl=en). TIP: for custom events, make sure to have lowercase, include only numbers and letters and replace spaces with underscores. for example instead of "Fill In Form", use: fill_in_form)
-
Set the condition to "Page Location" equals "URL of the success page". You can select other conditions based on your needs.
-
Save your settings and test by visiting the success page URL.
Remember, it may take up to 48 hours for the event to show up in your GA4 interface.
Summary
Setting up URL-based events in GA4 is a straightforward process, whether you use Google Tag Manager or the GA4 interface. The most important thing is to clearly define what actions you want to track and make sure your events align with those goals. This helps you understand your audience better, improve your website, and drive your business goals.
Remember, we're always here to help you delve deeper into more advanced event implementations and use cases. Feel free to ask us questions on our social media, website, or right here in the comments. We appreciate your interaction and feedback, and look forward to helping you become more successful with your web analytics.
