Recently, there's been heightened attention on DMARC, largely driven by Gmail and Yahoo's February 2024 deadline to create DMARC policy compliance.
These efforts have led many to urgently learn and then update their email settings in order to not get their emails in the spam folder.
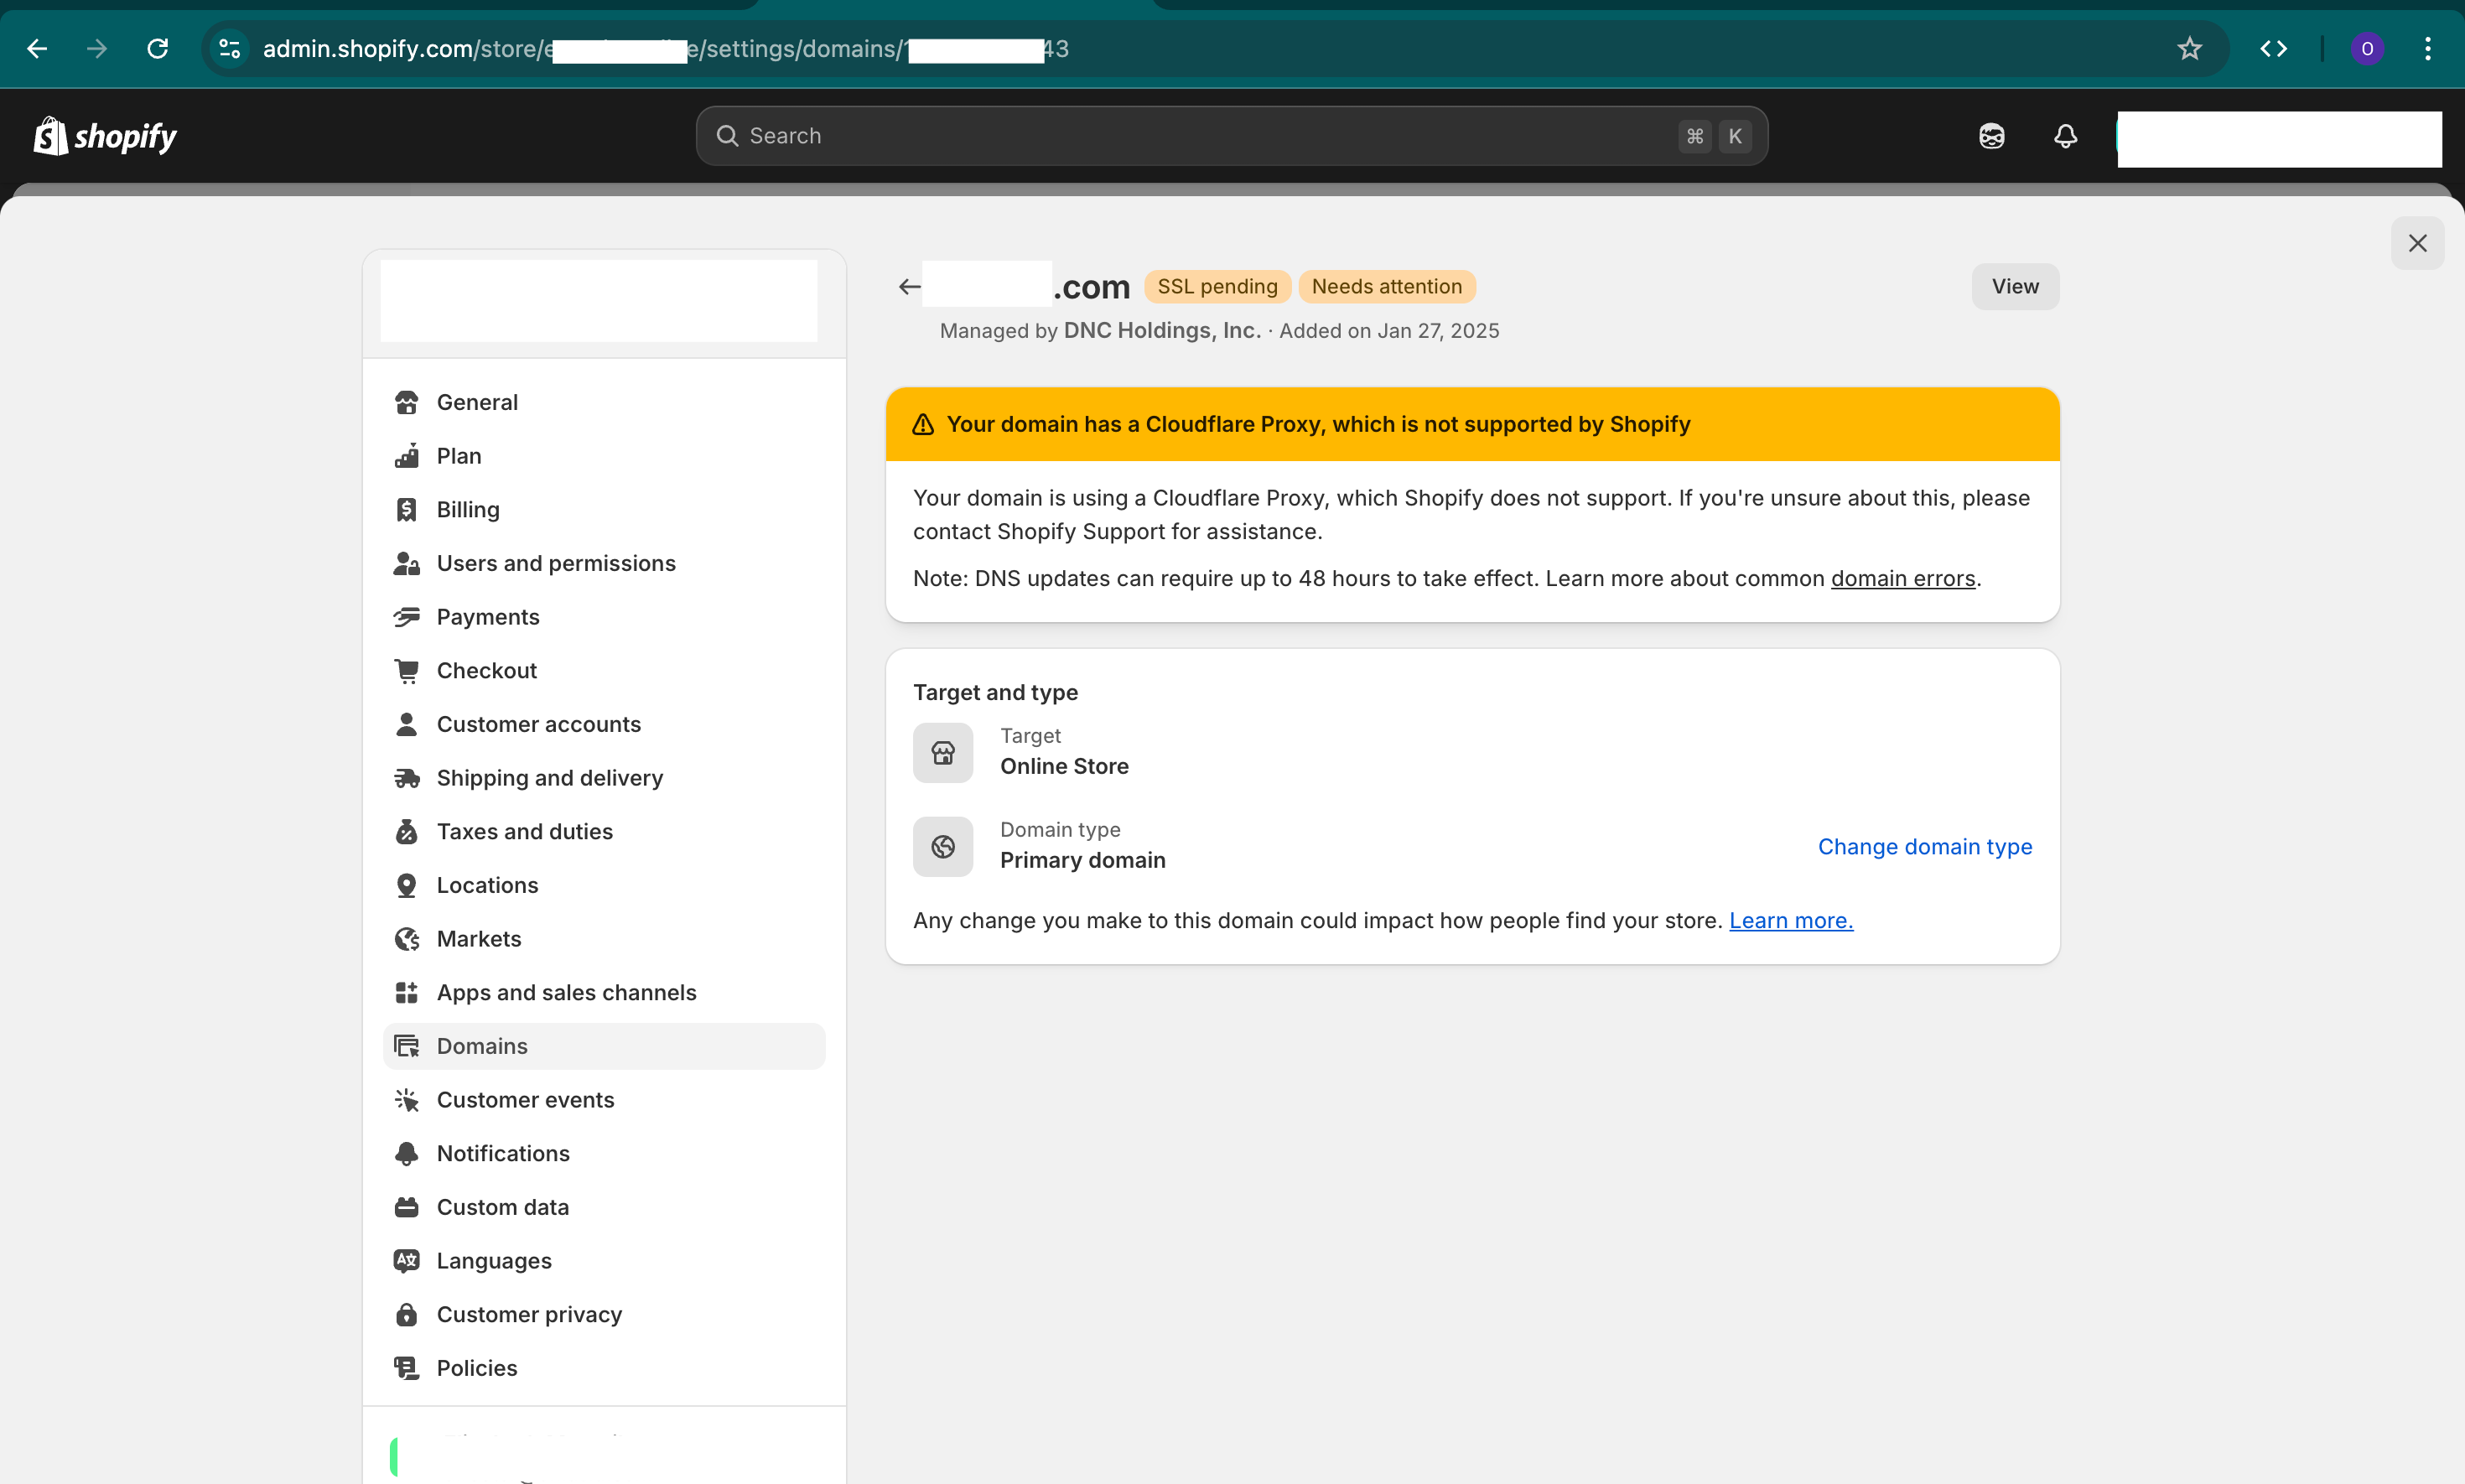
In addition, our recent article and video on setting up DMARC for Shopify exploded from demand and we thought we would cover more detial about DMARC, next steps which were not covered in the article and detail for all sites, not just shopify sites.
This guide aims to demystify email security DNS records and DMARC in a straightforward manner, tailored for those with less technical expertise. Our goal is to help you enhance email security and minimize the chances of your emails ending up in spam folders.
DMARC? What’s the Point of All This?
The core of this topic is email sending, reducing spam, and mitigating email security risks like phishing and email fraud. You’ll want to configure your domain name to allow only specific systems to send emails on your behalf. This means preventing impersonation and protecting your customers from scams. To do this, you need to establish four specific settings in your DNS:
Firstly, Examples of Who Can Send on My Behalf?
Your emails from Outlook or Gmail, your email marketing platforms like Klaviyo or MailChimp, and your platforms such as Shopify or WordPress all should send emails from your domain name.
1. Mail Servers
- When setting up a new domain name, you must define MX records to specify which mail servers are designated for receiving and sending emails for your domain. For example we use Google Workspace (gmail)
2. SPF (Sender Policy Framework)
- SPF further specifies which servers can send emails on behalf of your domain. For instance, you can allow Klaviyo to send emails from your domain. Receiving mail servers (like Yahoo Mail) use SPF records to evaluate whether an incoming email is legitimate or potentially spammy.
3. DKIM (DomainKeys Identified Mail)
- DKIM adds a cryptographic signature to emails, ensuring they genuinely originate from the stated domain and remain unaltered during sending of the email. It’s akin to verifying a check against bank records, but far more secure.
4. DMARC (Domain-based Message Authentication, Reporting, and Conformance)
- DMARC instructs the receiving email server on actions to take after assessing SPF and DKIM results. Depending on your DMARC settings, the receiving server (like Yahoo or Gmail) decides whether to deliver, spam, or reject emails if SPF and DKIM don't validate the sender. Additionally, if an email fails to conform to SPF and DKIM, you will get an email about the issue so you can act upon it and reduce spam.
Why Now?
DMARC became a hot topic for most website owners in January 2024. This is due to new requirements set by Yahoo and Google (Gmail), effective from February 2024. Non-compliance could result in your emails being marked as spam. The “Simple Steps to Setup” section below covers all you need to know to comply with these new standards, regardless of your platform.
Simple Steps to Setup
To comply, you'll need to:
- Access your DNS records.
- Open a new browser tab with instructions from your chosen email system, copying their TXT records based on their requirements. For example, Shopify's instructions and Klaviyo's guide.
Then, set up:
- SPF
- DKIM
- DMARC
- Google Postmaster Tools (keeping spam rates below 0.10% and never reaching 0.30% or higher).
Other Points
Most email providers and third-party systems automatically handle these but the below is good to know:
- Ensure valid forward and reverse DNS records (PTR records).
- Use TLS for email transmission.
- Format messages per the Internet Message Format standard (RFC 5322).
- Add ARC headers and a List-id header for forwarded emails, including those from mailing lists or inbound gateways.
- Support one-click unsubscribes with a functioning list-unsubscribe header.
Tools
- Google Postmaster Tools - Use this to understand what amount of spam gmail/google are receiving.
- Analyze your current DNS Records for SPF, DKIM, DMARC, BIMI - Check your current DNS records to see if you comply.
- DMARC Record Generator - If you don't have a DMARC record, you can easily create one via this tool and copy paste to your DNS records.
- IP/Domain Reputation Check - Check if you domain name has been blacklisted for email spam.
- Email Investigation - (my favorite tool) Easily check your email if your SPF, DKIM are setup correctly.
- DMARC XML Report Analyzer - If you've received an DMARC email report, you will take that XML and make it easier to read.
- EasyDMARC (free and paid accounts) - All the DMARC and Email Tools You need.
FAQ
- SPF vs. DKIM vs DMARC in Simple Terms: SPF authorizes which systems can send emails using your domain. DKIM signs it to secure the delivery of the mail and that it was not changed when sending and DMARC specifies what to do with emails that do not have valid SPF and DKIM records and who to alert.
- Can I add more than one email to get notified in DMARC? Yes you can. All you have to do is add a comma and then another mailto. For example: v=DMARC1; p=reject; rua=mailto:admin@example.com,mailto:security@example.com
- Is SPF, DKIM, DMARC setup necessary only for large websites? Not anymore. It is important for small and large sites.
- If I use a third-party email marketing system like MailChimp or Klaviyo, do I need to do anything else? In addition to the normal SPF, DKIM and DMARC you setup for your domain, you will need to login to the 3rd party system, add your domain name and then ensure that you add to your SPF reocrd "include:" for that platform (for example klaviyo)
- What is BIMI? BIMI stands for Brand Indicators for Message Identification - If you have a trademark on your logo, you can ensure that it displays on your emails from your domain. All you have to do is add a BIMI record to your DNS with your VMC (certificate) and host your logo.