Introducing one of the best features Shopify has released in a long while - the ability to manage return requests natively in Shopify, both for the business in the back-end and for the customers to request returns themselves.
Example
Let’s look at a common scenario: a customer receives a damaged product, and they want to return it. Before, managing this process was cumbersome, off shopify or in excel sheets and required the customer to contact customer service, await instructions, and follow several steps. For the business, it meant manually handling the process.
Solution
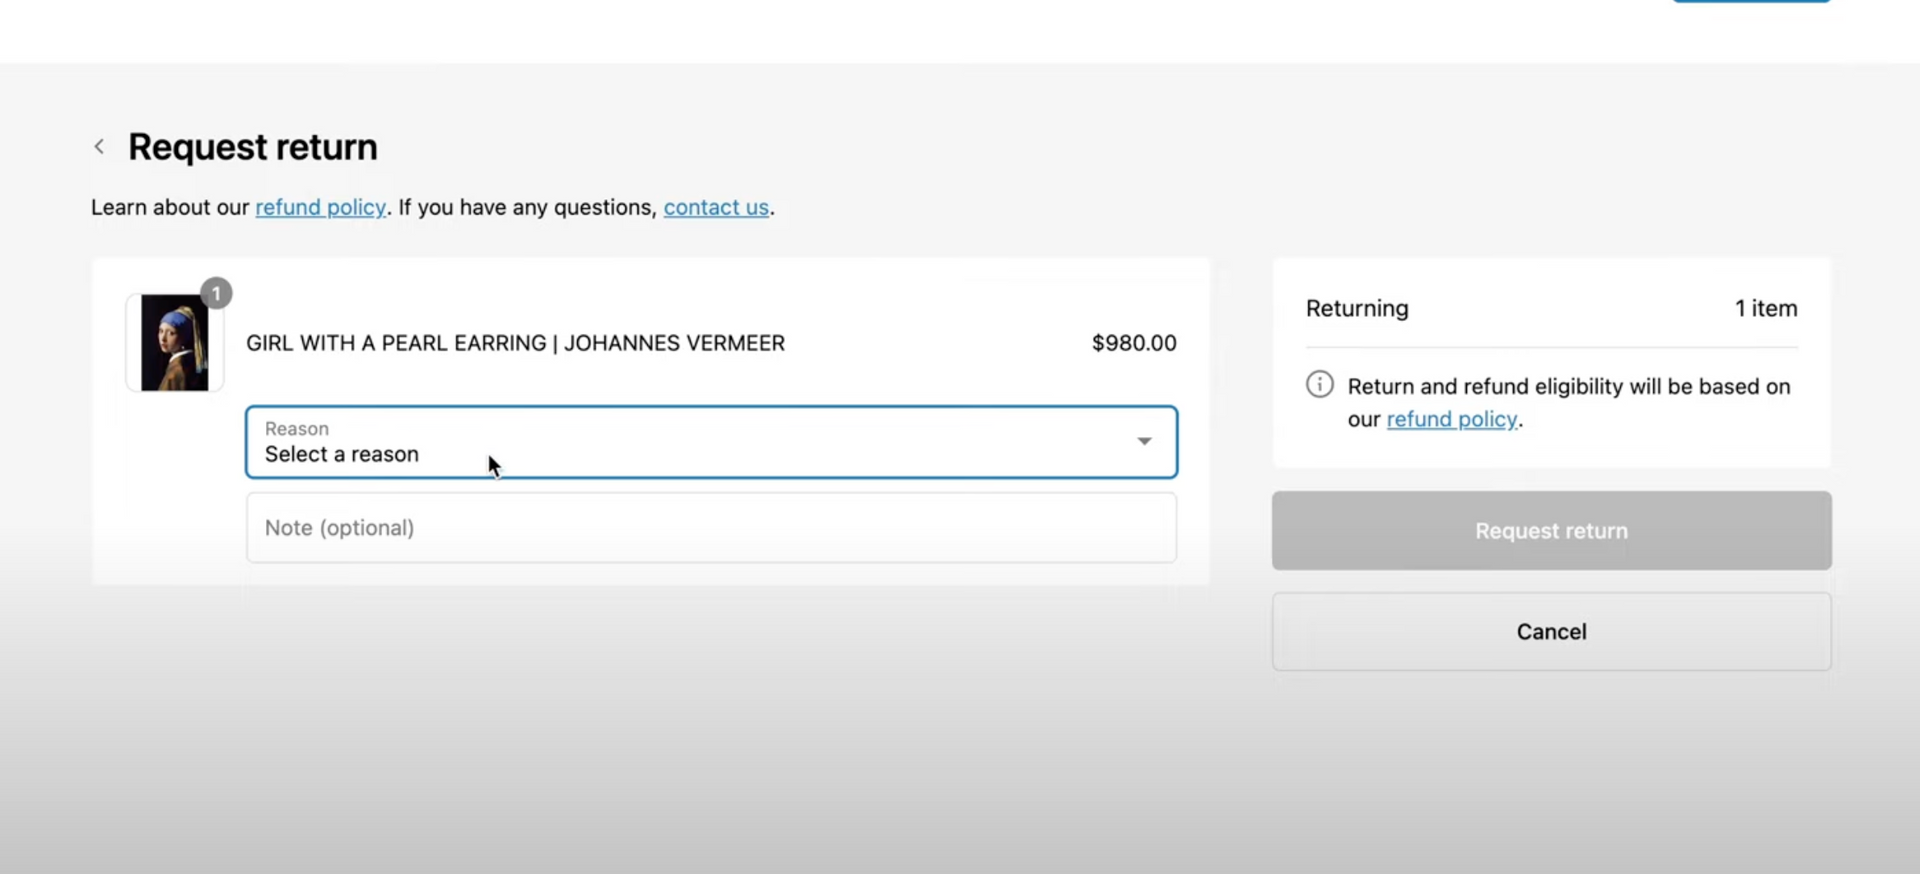
Now, Shopify has streamlined this process by allowing customers to easily request a return by logging in to their account, going to their orders, and requesting a return for the specific item. They can select a reason for the return and even add additional notes.
Key Takeaways
- Customers can now request returns by themselves.
- Businesses can manage these requests easily in Shopify’s back-end.
- The new feature requires the use of new customer accounts.
- Customization options are available for email notifications.
- Businesses can either approve or decline the return requests.
- Businesses have the option to use Shopify return labels or upload their own.
Detailed Steps and How to Use/Setup/Go Through the Steps
-
Enable the feature: Go to Settings and enable Customer Self-serve Returns. Note that this requires new customer accounts. You must enable new customer accounts and update your login URLs.
-
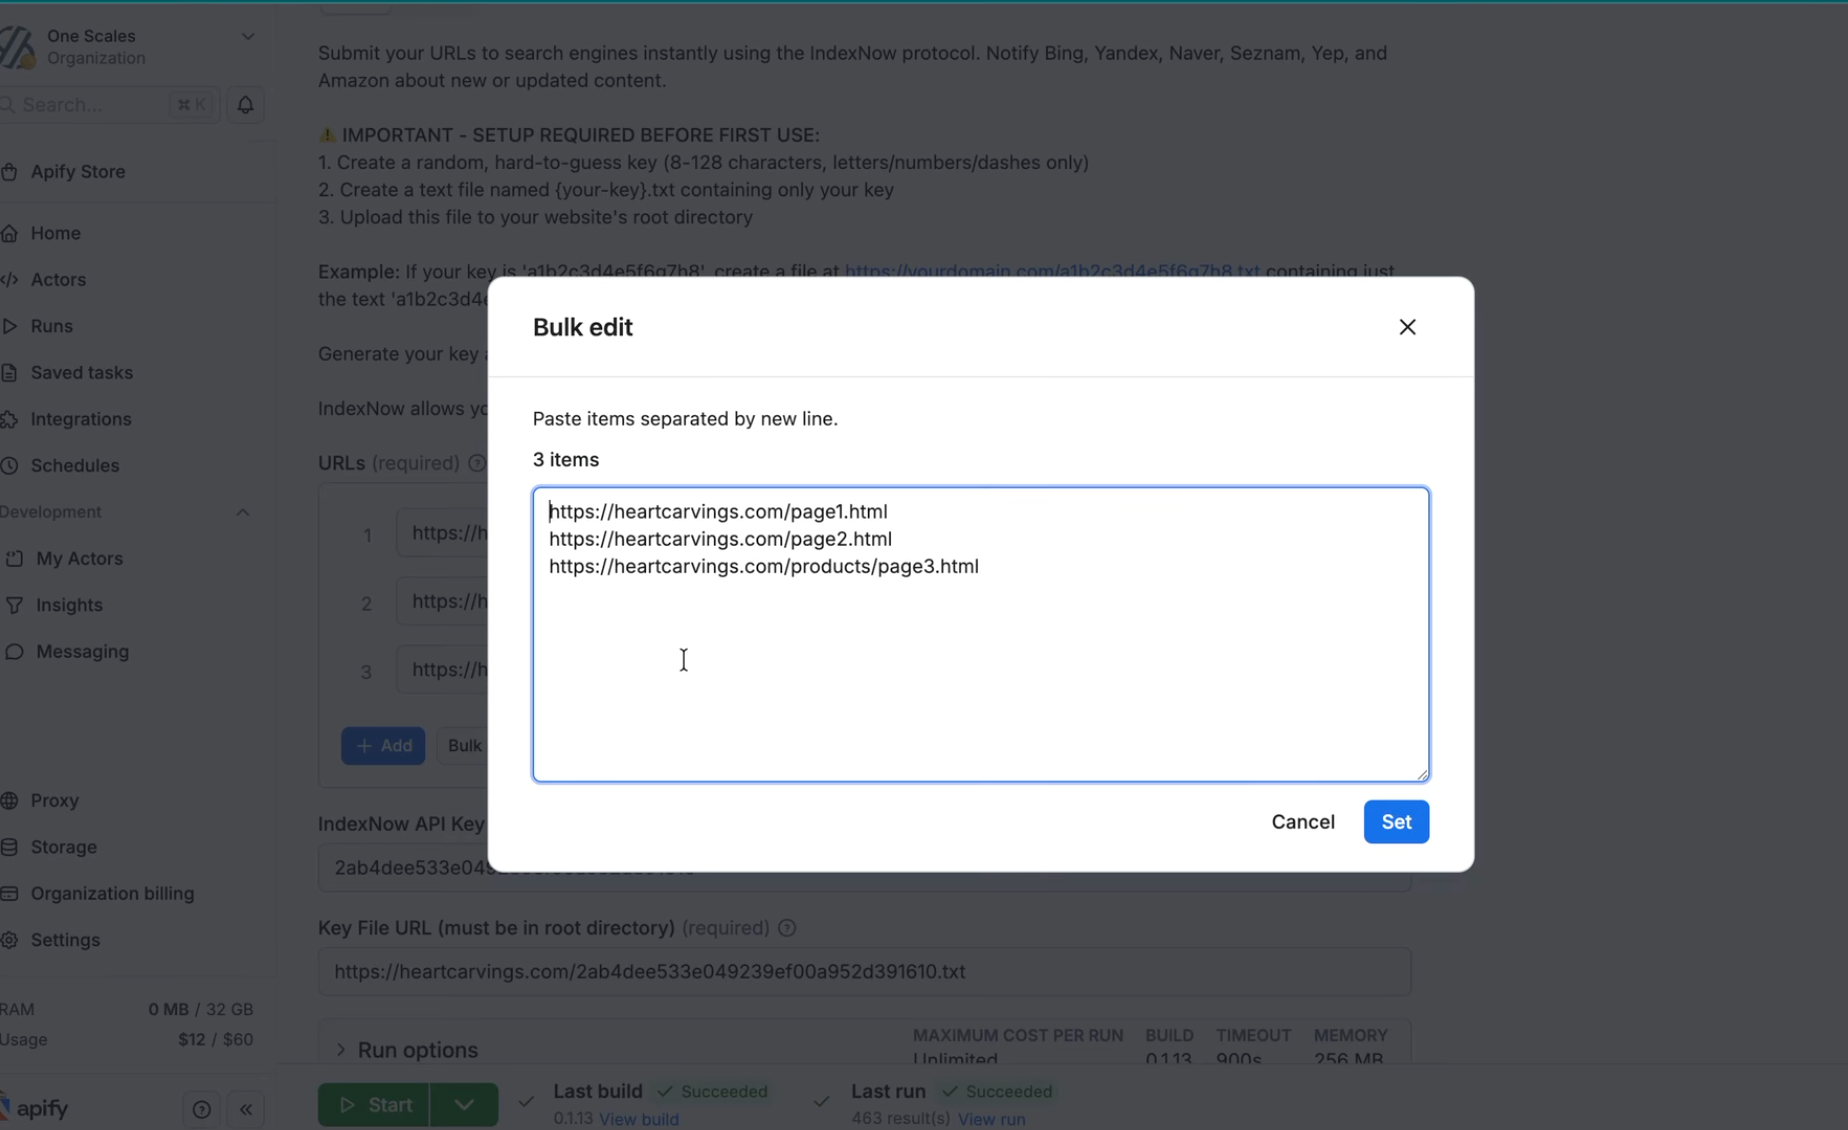
Customer Request: Customers can log in, go to their order, and request a return by selecting the items they want to return, specifying a reason, and adding additional notes if needed.
-
Business Management: In the business Shopify account, under orders, there's a tab called Return Requests. Here, businesses can see all the return requests.
-
Approve or Decline: The business can click on a request and choose to either approve or decline it. If approved, they can upload a return label (Shopify or custom), or specify no shipping needed.
-
Refund the Customer: Once the return is complete, the business can refund the customer directly through Shopify.
-
Notifications: Customize email notifications for customers and the business for different stages of the return process. These settings are under Settings -> Notifications -> Returns.
-
Policies: Ensure your refund policy links to the new customer accounts so customers can log in with the new system.
-
Theme Compatibility: Your Shopify theme should be 2.0 and should support this feature.
-
Test the Process: Make a test order and go through the whole process to ensure everything is working as expected.
Other Important Links
- https://help.shopify.com/en/manual/orders/self-serve-returns/managing-returns